Acrylic Painting for Absolute Beginners: 8 Techniques to Learn Before Your First Class
The first acrylic class is less about talent than logistics: how much water, which brush, and why the red you mixed turned out pink. Most beginners freeze at the same three moments — mixing a color, covering a large area, and fixing a mistake. All three are learnable in an afternoon. Acrylics are forgiving. They dry fast, they cover whatever came before them, and they reward a little planning. Here is what is worth practicing before you sit down at a table with a fresh canvas and a room full of strangers.
Canvas Prep: Give the Paint Something to Grip
Most store-bought canvases are already primed with gesso, so you can start painting on them immediately. Run your fingertips across the surface. It should feel slightly rough, like a fine sandpaper. If it feels slick and shiny, brush on a coat of gesso and let it dry before you begin.
The step worth adopting early is toning. A thin wash of burnt sienna or neutral grey knocks back the glaring white and makes it far easier to judge how light or dark your colors really are. Let it dry, then sketch loosely with a pencil or a small round brush. On a toned ground, the little gaps between brushstrokes stop vibrating with white.
If you are buying a canvas for class, buy two. A spare removes most of the fear of ruining the first one.
Brush Control: Learn Four Brushes Well
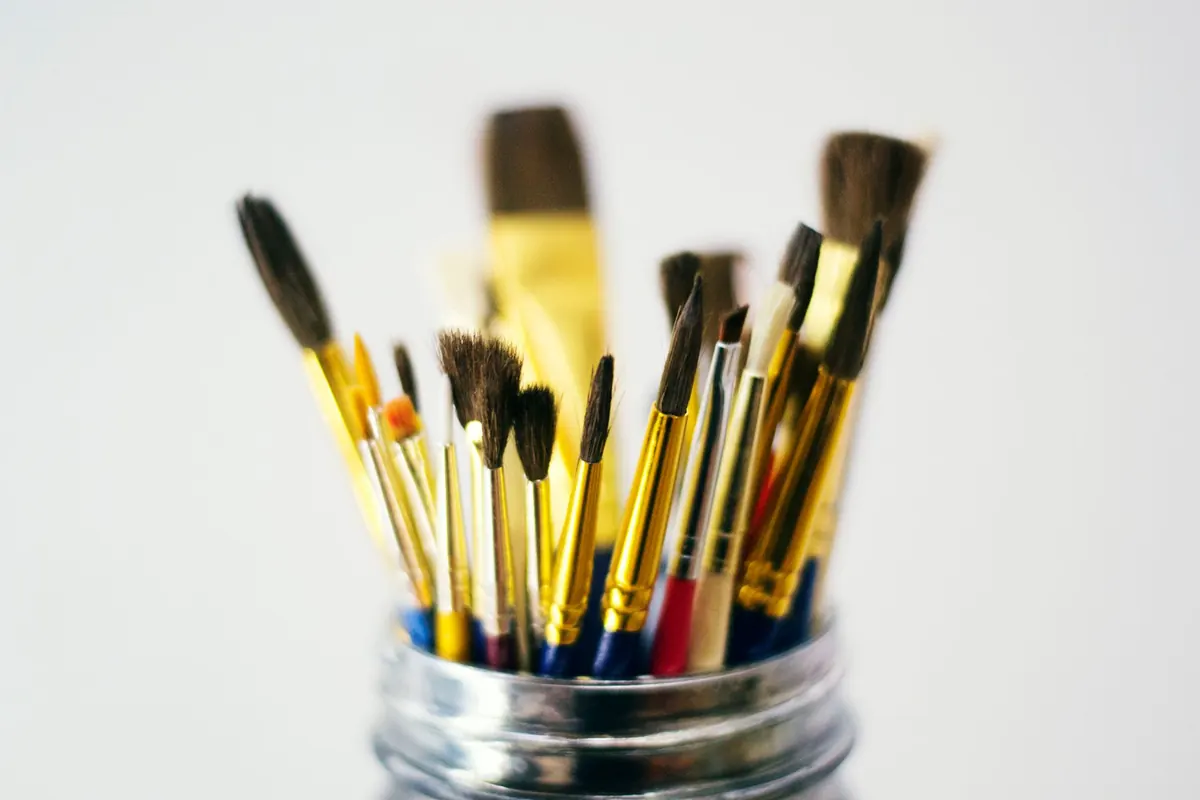
You do not need a set of twenty. Four will cover almost everything: a large flat around one inch wide, a medium flat, a medium round, and a small round or liner for detail. Learn how each one holds paint. A flat brush dragged sideways leaves a sharp edge; turned on its narrow side it draws a thin line; pressed down and lifted it stamps a rectangular block.
Then practice three strokes on scrap paper or a spare canvas:
- The even pull — one steady stroke from edge to edge, no stopping to fix it halfway. This teaches you how much paint is actually on the brush.
- The taper — start with pressure, lift gradually as you finish, so the stroke narrows to a point.
- The dry scrub — barely any paint, stiff bristles, dragged lightly across the surface for texture.
Grip matters as much as the stroke. Hold the brush near the ferrule for control and further back, like a conductor's baton, for loose marks. Beginners tend to grip too tightly and too close for everything.
Color Mixing: Start With Fewer Tubes Than You Think
A five-tube palette will get you through your first year: titanium white, ultramarine blue, a warm red, a warm yellow, and burnt sienna. Add a cool red and a cool blue later if you want brighter purples and greens. Mixing from a small set teaches you how colors behave; a box of thirty tubes mostly teaches you which ones you never open.
Value before color
Squint at your reference and decide whether an area is light, mid-tone, or dark before deciding what color it is. Half of what reads as "wrong color" is actually wrong value. To build a range from one hue, add white for tints and a touch of burnt umber or the color's complement for shades. Straight black tends to deaden a mixture.
Mix more than you need
Acrylic dries quickly, and once it does, it is no longer water-soluble, so matching a color you mixed ten minutes ago is genuinely difficult. Mix a larger puddle than seems necessary, and keep a spray bottle handy to mist the paint on your palette while you work.
Layering and Glazing: Build, Don't Bludgeon
Acrylic's speed is its best feature if you work in layers. Block in the big shapes with thinned paint, let that dry — thin layers take only minutes — then build on top. Keep early layers thin and later layers thicker. Applying heavy paint over a thin, dry base is more stable than the reverse.
Wet-into-wet versus wet-on-dry
Wet-into-wet means blending two colors while both are still damp; it gives soft transitions and is ideal for skies and shadows. Wet-on-dry means painting over a fully dry layer, which preserves crisp edges. Knowing which one you are doing prevents most muddy results. If you keep scrubbing colors together without deciding, you will get grey-brown every time.
Glazing
A glaze is a thin, transparent layer of paint over a dry color. It shifts what is underneath without hiding it, and it is the quickest way to warm up a shadow or unify a finished painting. Save your opaque, thickest paint for the final highlights.
Eight Techniques to Practice Before Class
- Even flat coverage. Load a one-inch flat and pull parallel strokes across a scrap canvas until you can cover an area without streaks.
- A gradated wash. Paint a band of blue, then add white to the brush and continue the stroke downward, blending until the strip fades smoothly.
- Wet-into-wet blending. Lay two colors side by side and drag a clean brush back and forth along the seam for a soft transition.
- Dry brush. Wipe most of the paint off a stiff brush and drag it over a dry layer. Useful for grass, wood grain, and cloud edges.
- Glazing. Apply one transparent layer over a dried color and note how much it shifts the hue.
- Palette knife work. Spread thick paint with a knife and watch how the raised texture catches light.
- A value chart. Choose one color and mix five steps from a pale tint down to a deep shade, painting a row of squares.
- Matching a real object. Put a mug or a leaf on the table and mix until your swatch disappears against it in the same light.
What to Expect in Your First Class
Most studios supply paint and canvas but expect you to bring brushes. Take your own if you have them — you will paint better with tools you have already handled. Wear clothes you do not mind marking, because dried acrylic does not come out of fabric.
When you get stuck on a color, ask the instructor to show you the mixing rather than mix it for you. You want the reasoning, not just the result. Keep your first painting simple: one object, one light source, a plain background. And photograph anything you like, even if it is only the corner of the canvas that worked. That photo is more useful to your next attempt than a tidy finished piece you were too nervous to enjoy making.
Photo: Em Everyday Living / Pexels